Enable Database OAuth
DataChat enables connections to databases via OAuth for BigQuery and Snowflake.
BigQuery
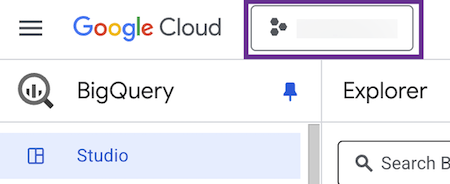
Step 1: Find Your BigQuery Project Name
To obtain your BigQuery project name, go to Google Cloud Console and locate your project name shown at the top next to the Google Cloud logo:
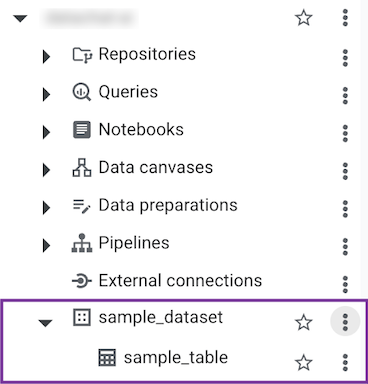
Step 2: Find Your Dataset Name
From the Explorer tab in BigQuery, expand your project. From the list of datasets, find the exact name (case-sensitive) of the dataset you'd like to use.
Step 3: Enter Required Information in DataChat
Once you’ve gathered your project name and dataset name, in DataChat:
-
Navigate to the Database Browser.
-
Enter your credentials as follows:
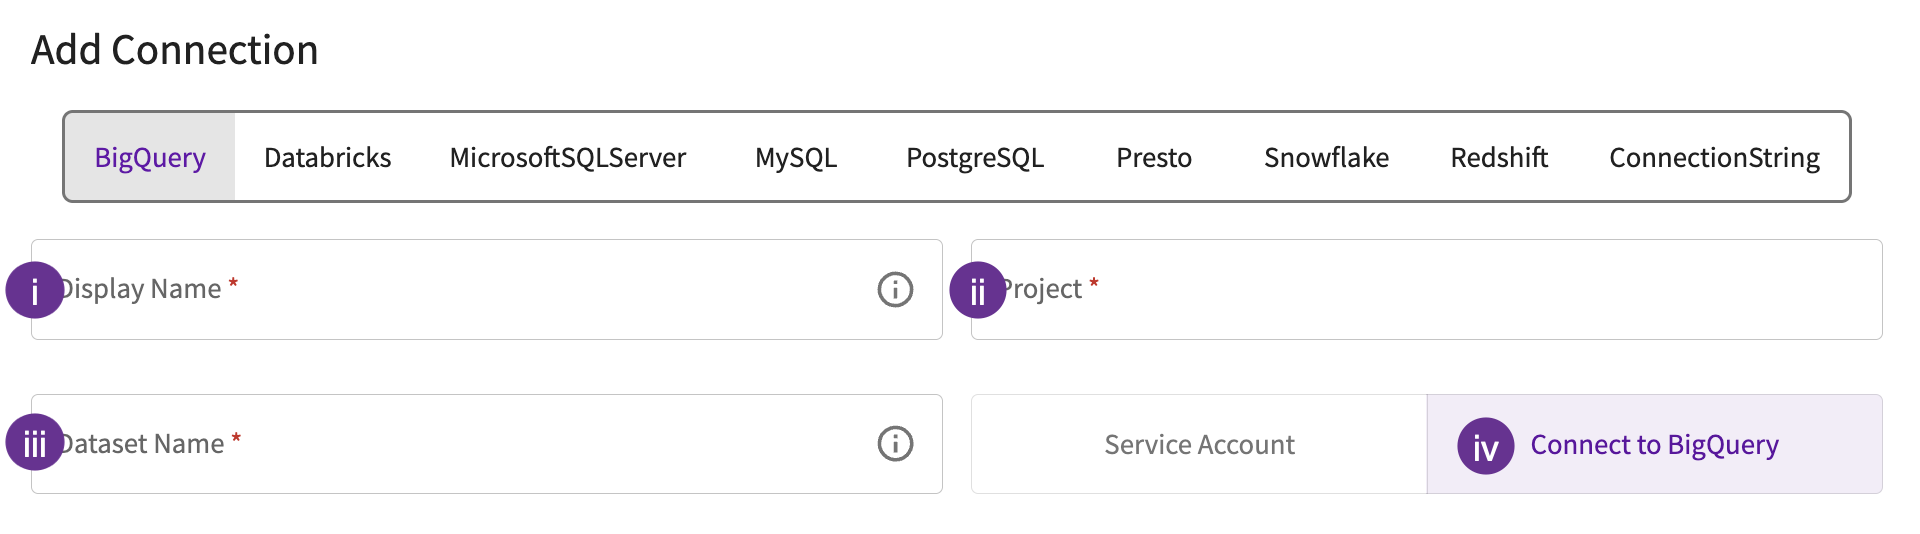
- Give the database a display name. This is how you'll reference the database across DataChat.
- Enter your project name.
- Enter the dataset name.
- Click Connect to BigQuery.
-
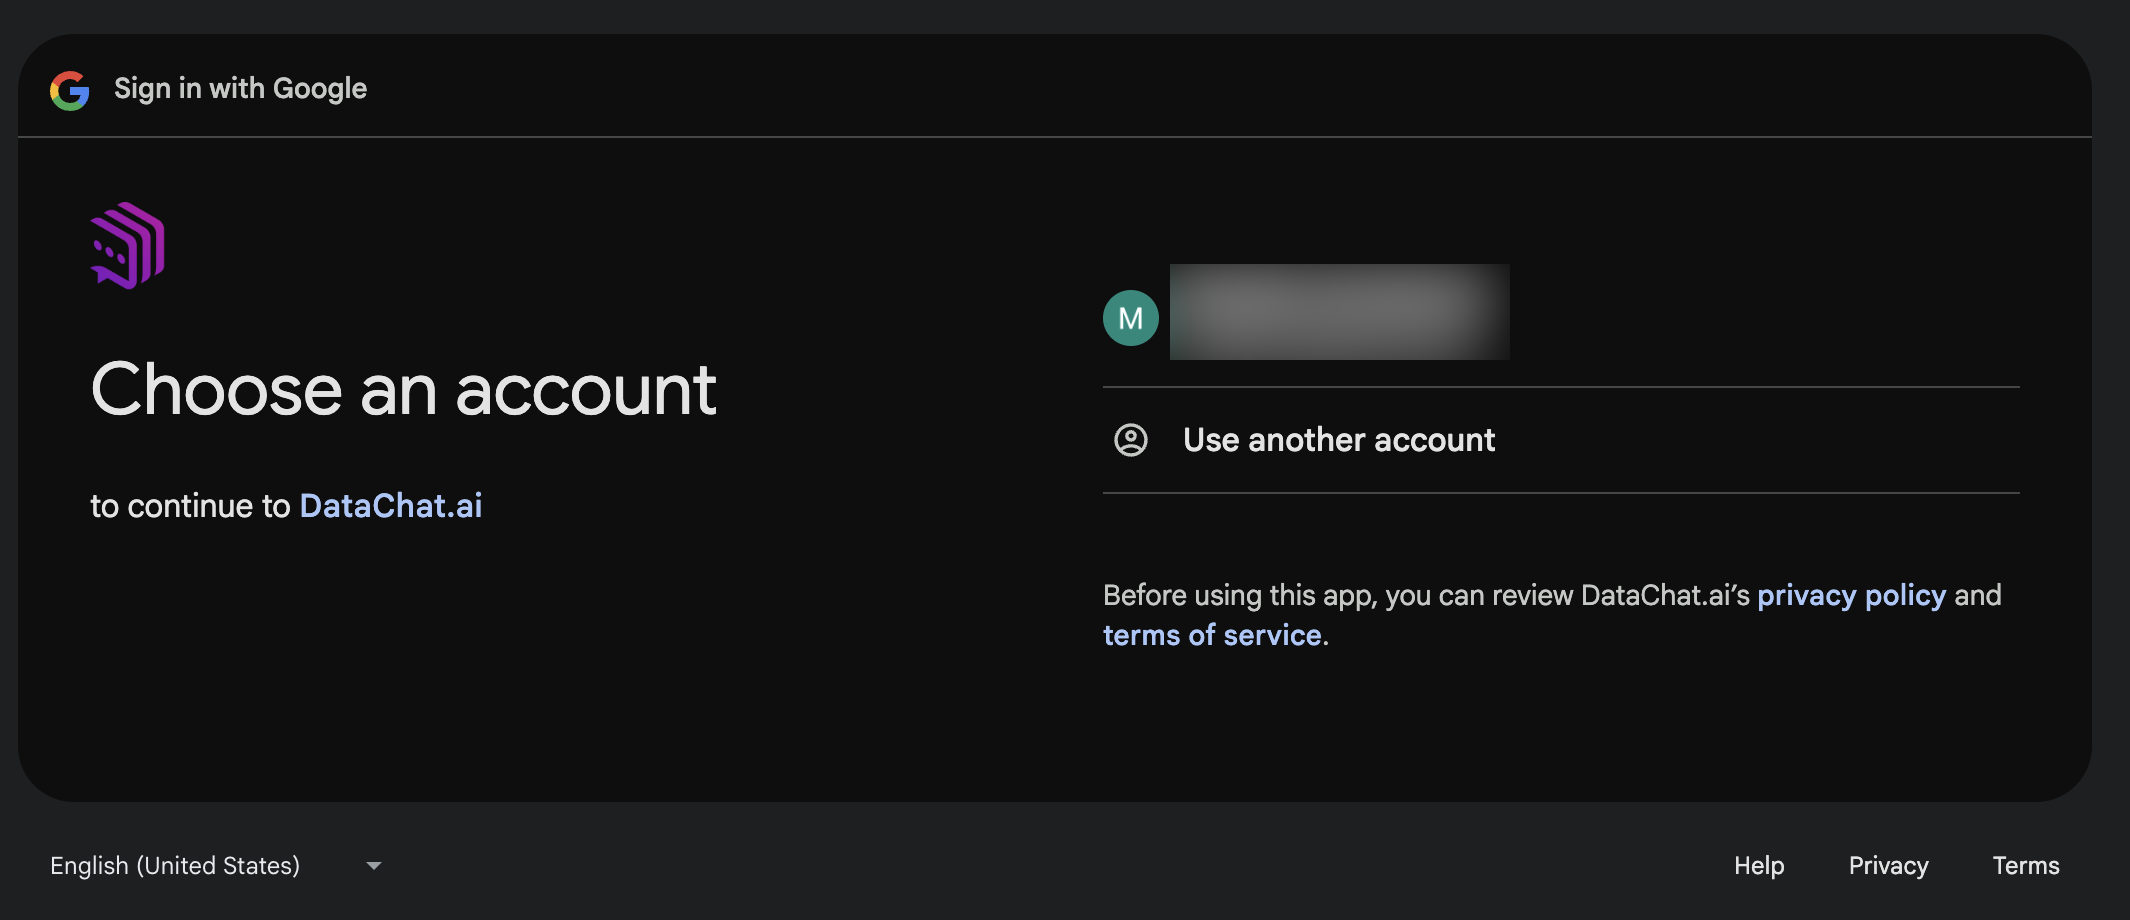
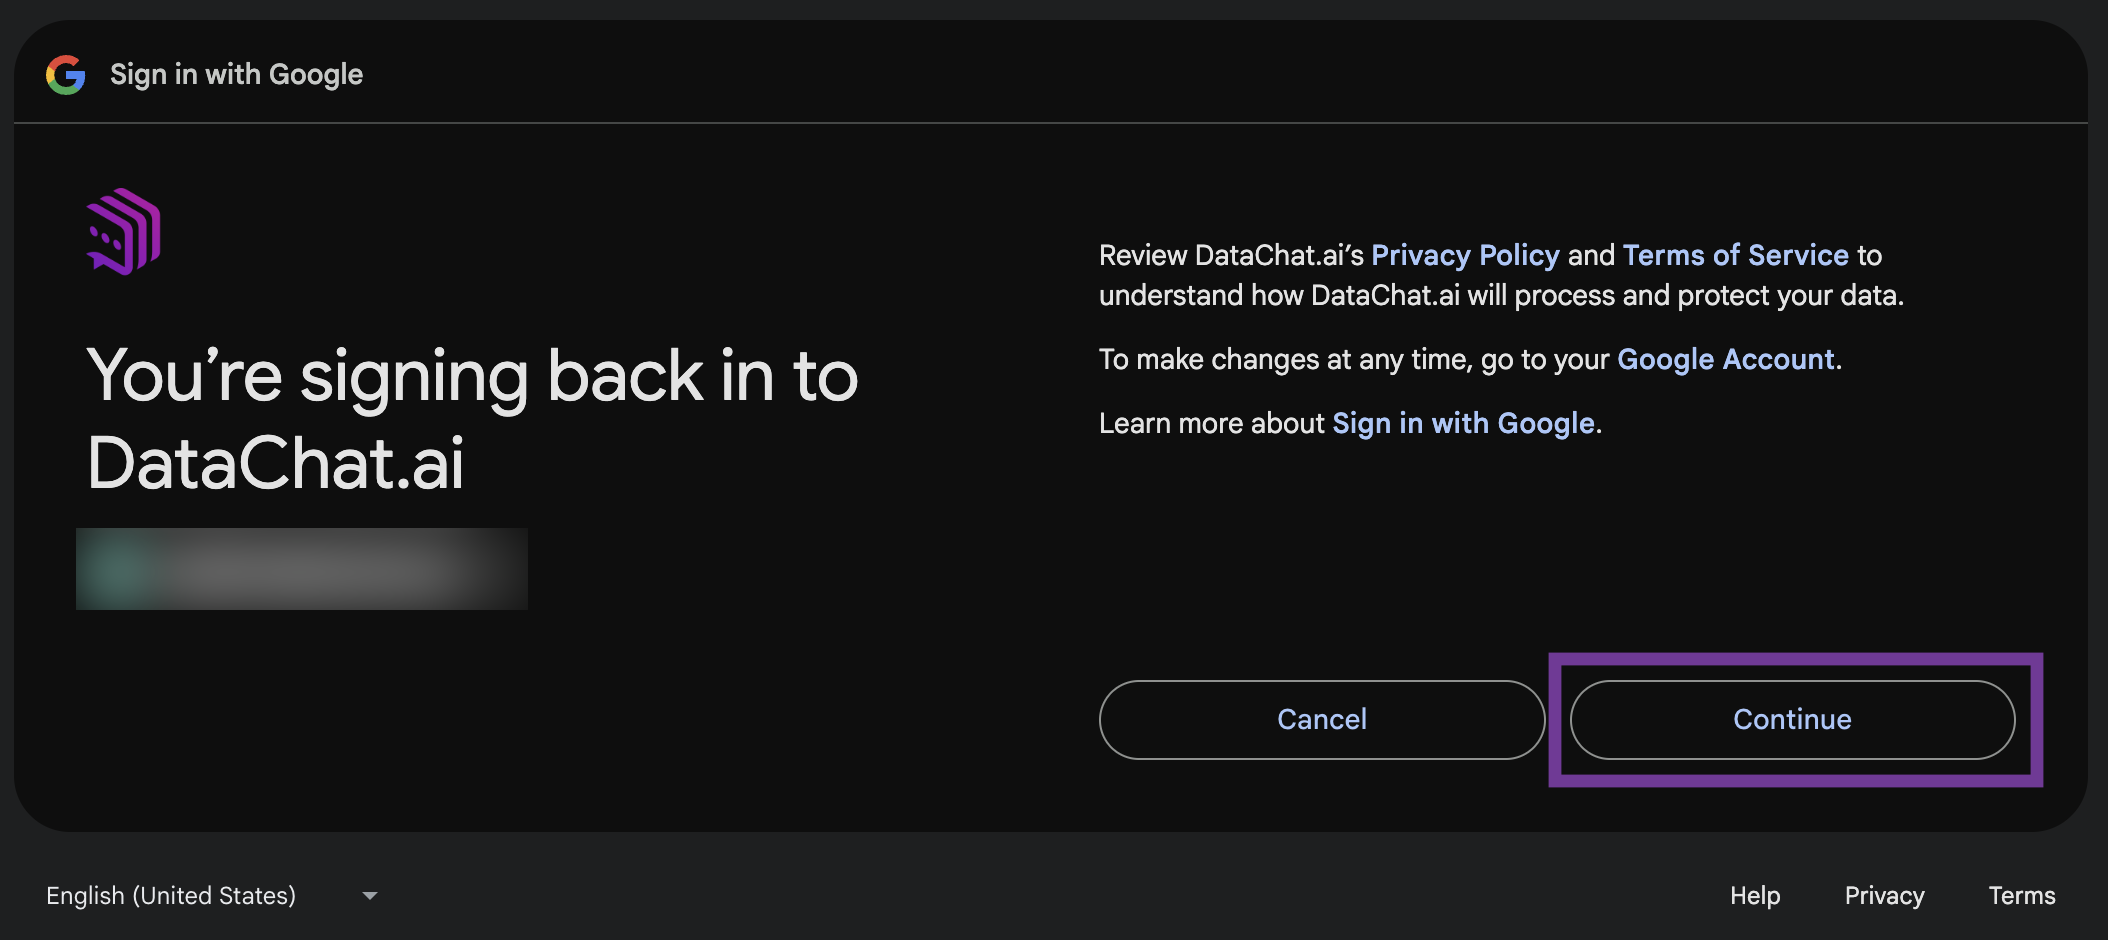
Choose your Google account.
-
Review the consent screen and click Continue to sign back in to DataChat.
Snowflake
Step 1: Create Snowflake OAuth Integration
Run the following SQL script in your Snowflake database to create the OAuth integration:
CREATE SECURITY INTEGRATION DATACHAT_OAUTH_INTEGRATION
TYPE = OAUTH
ENABLED = TRUE
OAUTH_CLIENT = CUSTOM
OAUTH_CLIENT_TYPE = 'CONFIDENTIAL'
OAUTH_REDIRECT_URI = 'https://apps.datachat.ai/oauth'
OAUTH_ISSUE_REFRESH_TOKENS = TRUE;
If you're using a privileged Snowflake role, you may need to allow privileged roles to authenticate via OAuth. See Snowflake's documentation for more information.
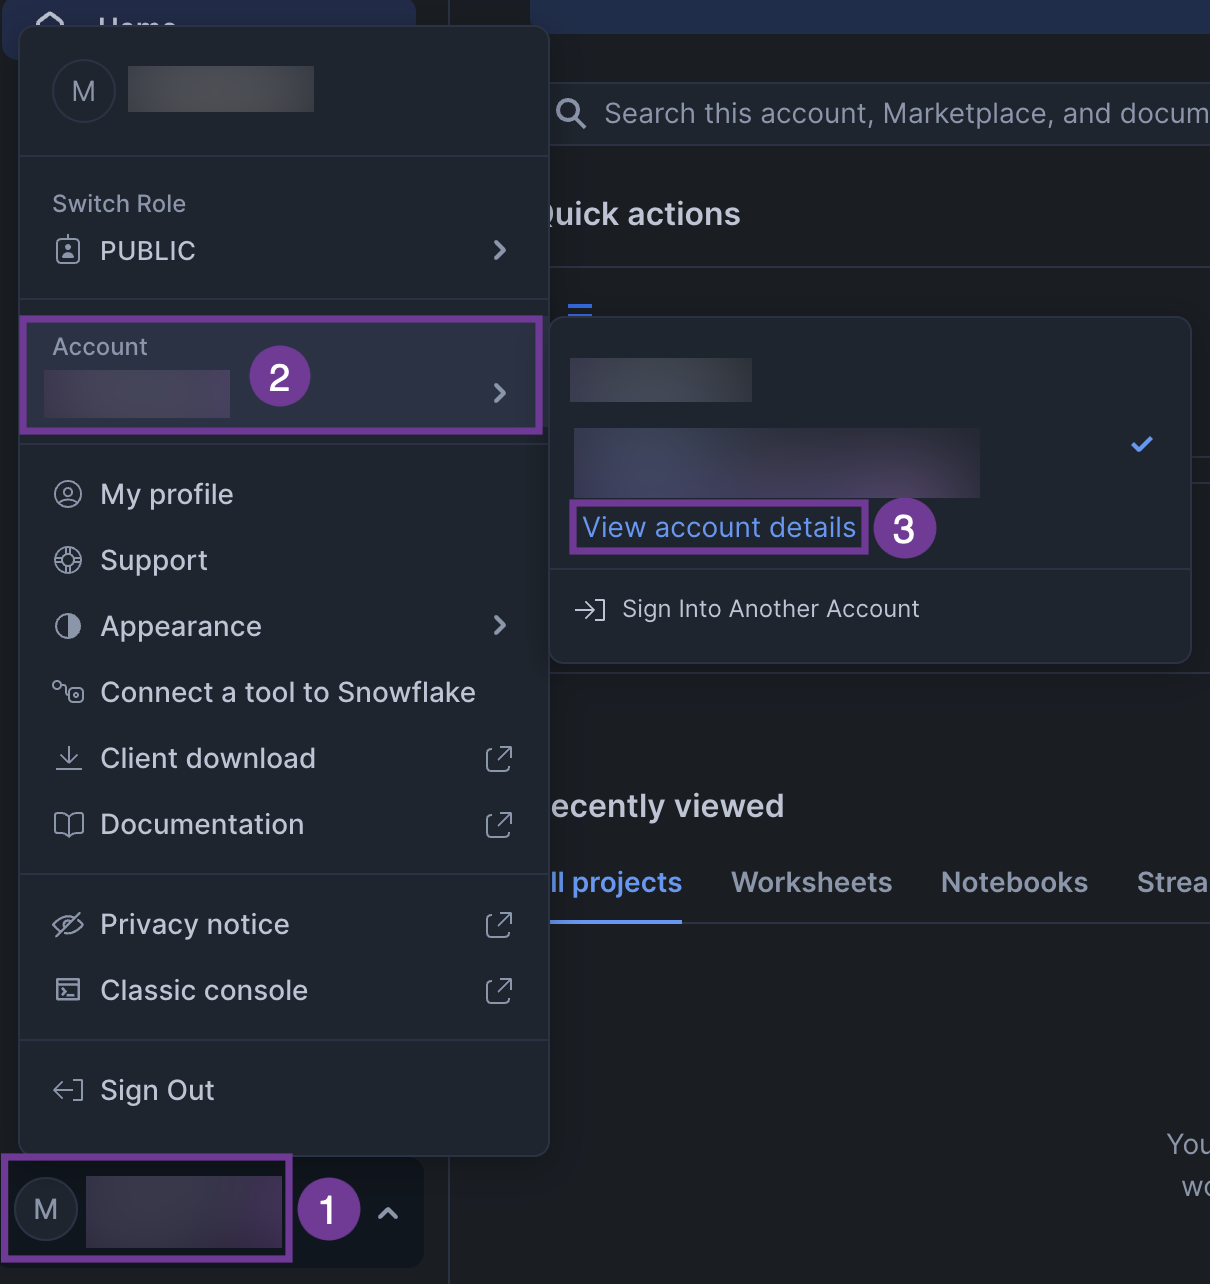
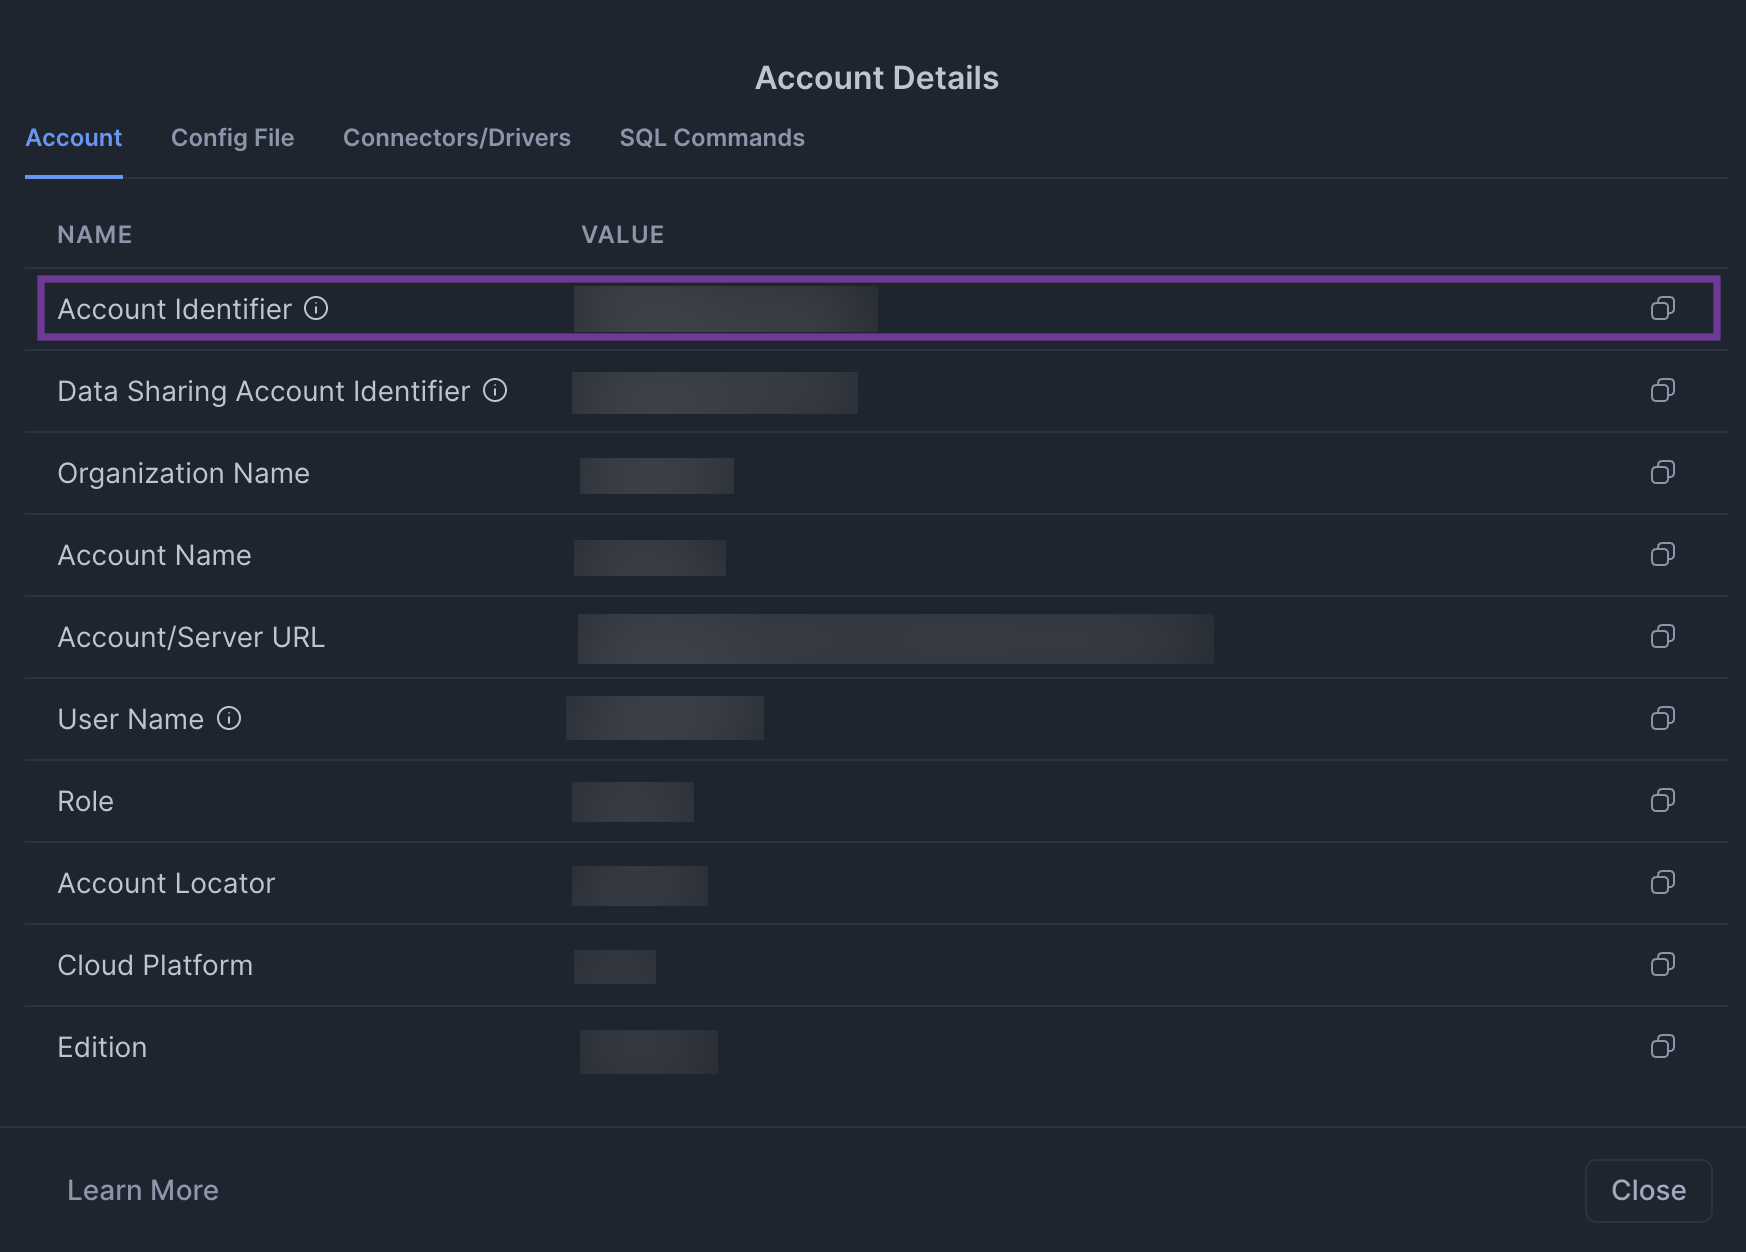
Step 2: Retrieve Your Snowflake Account Identifier
To obtain your account identifier, click your account icon > Account > View account details:
Step 3: Get Client Secret and Client ID
Retrieve the client secret and client ID for the integration by running the following query in Snowflake:
SELECT SYSTEM$SHOW_OAUTH_CLIENT_SECRETS('DATACHAT_OAUTH_INTEGRATION_DEV');
Step 4: Enter Required Information in DataChat
This step requires Admin access in DataChat.
Once you’ve gathered your account name, client ID, and client secret, in DataChat:
-
Navigate to the Admin Portal.

-
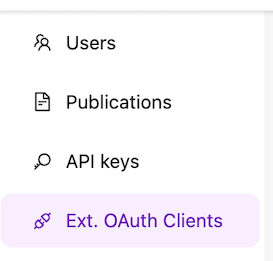
Select Ext. OAuth Clients from the left menu.
-
Click + Add New OAuth Client.

-
Enter your credentials as follows:
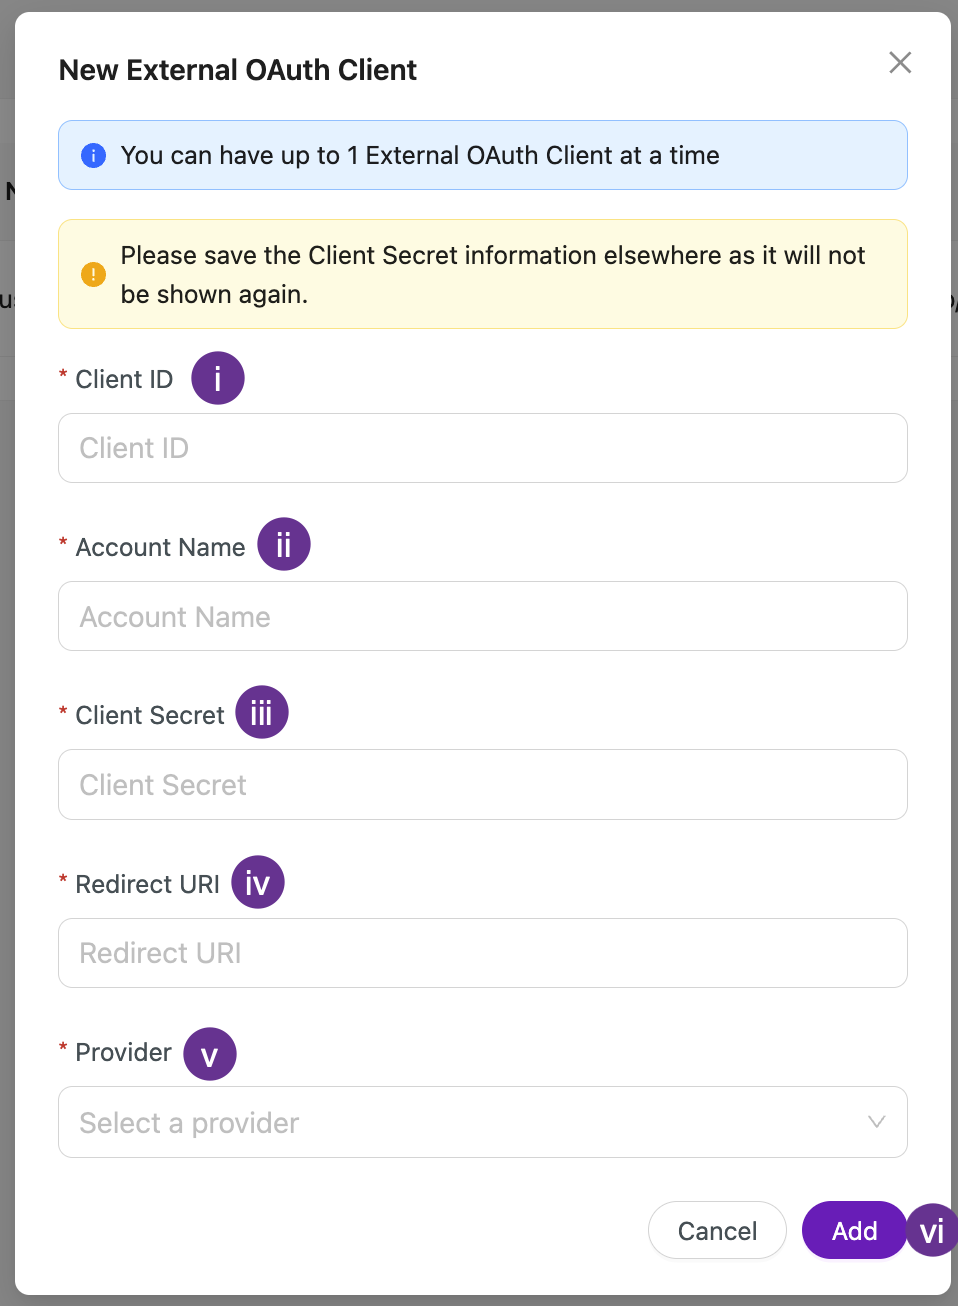
- Enter your client ID from step 3.
- Enter your account identifier from step 2.
- Enter your client secret from step 3.
- Enter your redirect URI (e.g.
https://apps.datachat.ai/oauth). - Select Snowflake as your provider.
- Click Add.
Data Access and Security with OAuth
When using OAuth authentication, DataChat associates each user's actions with their own database identity. This ensures that access controls defined at the database, schema, table, view, and row-levels are applied based on the individual user's permissions. Unauthorized requests are blocked directly by the database. For row-level security, instead of blocking access entirely, the database simply returns only the rows the user is allowed to view.
Keep the following in mind when collaborating in shared sessions:
- In scenarios involving sensitive data, ensure each user operates within a discrete session. This prevents cached information from a shared session being inadvertently shown to users without proper access.
- Actions taken within a shared session use the session owner's credentials. This includes generating charts or queries, which means collaborators may see data they wouldn't normally have access to.
- Shared charts reflect the session owner’s access level at the time they were created. Cached database samples within the Database Browser also reflect the access of the most recent user to refresh them.
To ensure proper row-level enforcement:
- Use individual OAuth connections.
- Avoid sharing sessions between users with differing access levels if sensitive data is involved.
If you're using a service account, row-level security does not vary by user. All permissions are based on the service account's role.