Overview
The DataChat Semantic Layer (DCSL) lets you define business-specific logic, such as models, relationships, KPIs, and concepts, using natural language. This enables the Data Assistant to interpret your data in the context of your business, delivering more accurate, relevant insights.
With the DataChat Semantic Layer, you can:
- Define custom models and relationships
- Add KPIs and business calculations
- Introduce domain-specific concepts
Open the DataChat Semantic Layer
Before opening the semantic layer, connect to a database in your session and load the datasets you want to use. Once ready, click Semantic Layer in the lower left corner.

Select a Schema
To get started, click Select a schema > New Semantic Layer, then:
- Select your database connection.
- Choose your schema.
- Select the datasets you want to include in your semantic layer.
- Click Submit.
Once submitted, the schema structure will appear in the left panel.

Upload Business Context (Optional)
You can optionally upload .txt files containing business rules, definitions, or logic. This helps tailor the DataChat Semantic Layer to your organization’s needs.
Files can include, but are not limited to:
- KPIs
- Dataset and column descriptions
- Custom dimensions
- Business terminology
- Example SQL queries
For example, a simple .txt file might look like:
Key Concepts

Sales: Calculated as QUANTITY * UNITSELLINGPRICE

TotalSales: Total value of goods sold over a period. Formula: SUM(Sales)

AgeGroup: Derived from Age column. Groups: Youth (0–18), Young Adult (19–35), Mid Career (36–50), Senior (51+)

FiscalYear: Defined as FY16 if date is between Feb 1, 2016 and Jan 31, 2017. Data ranges FY16–FY25.
Ensure uploaded files clearly define KPIs and dimensions to help the agent generate accurate models.

.txt files do not require strict syntax. Natural language is supported.
Seed the Semantic Layer
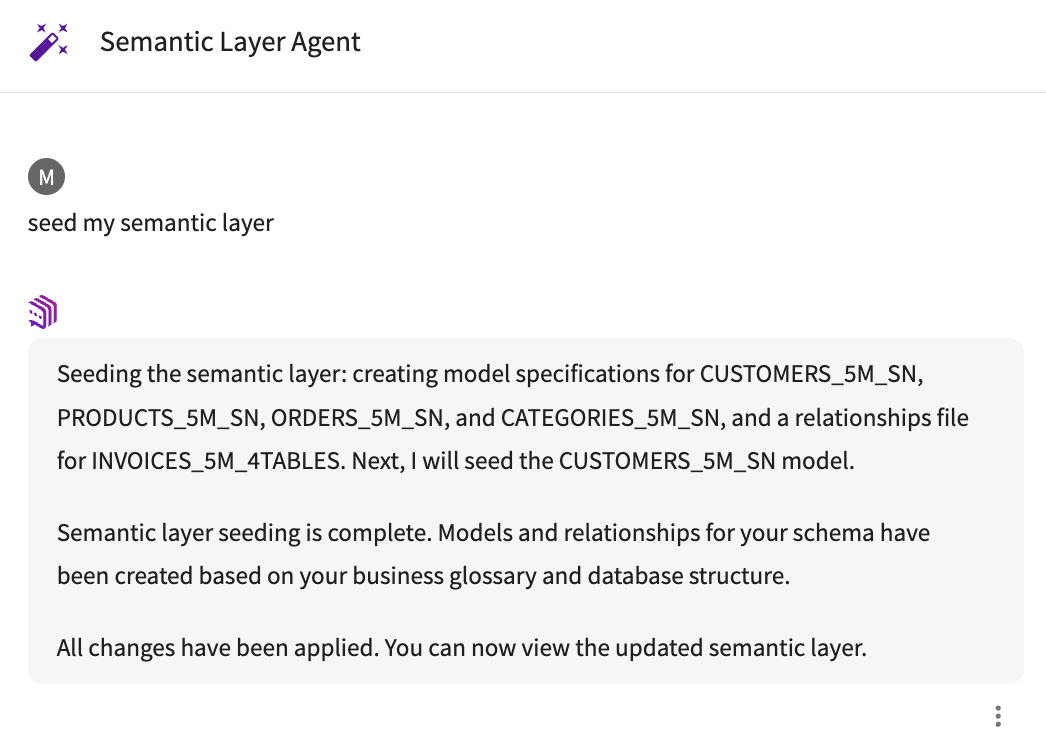
After connecting your data (and optionally uploading context), ask the Semantic Layer Agent: “Seed my semantic layer.”
The agent will:
- Interpret the uploaded logic
- Automatically generate models and relationships
- Apply your terminology, KPIs, and dimensions
Review and Adjust
After seeding, the Semantic Layer Agent generates models and relationships in the left panel. All modified models and relationships indicate changes with a purple icon. Review each file to make sure the semantic layer reflects your business needs.
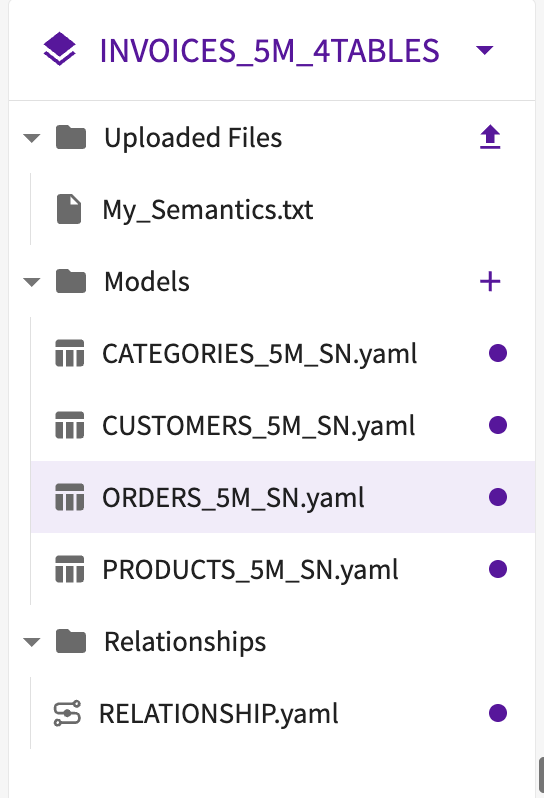
You can review Models to confirm measures, dimensions, and hierarchies are correctly defined, and inspect Relationships to ensure joins are set up as expected. Adjustments can be made in the formatted view, a form-based interface, or in the raw view to edit values directly in .yaml.

If you’re new to the DataChat Semantic Layer, start in the formatted view for guided edits or ask the Semantic Layer Agent to make the changes for you. Use raw view for advanced control over .yaml files.
Models
Models represent the core datasets in your semantic layer. They include:
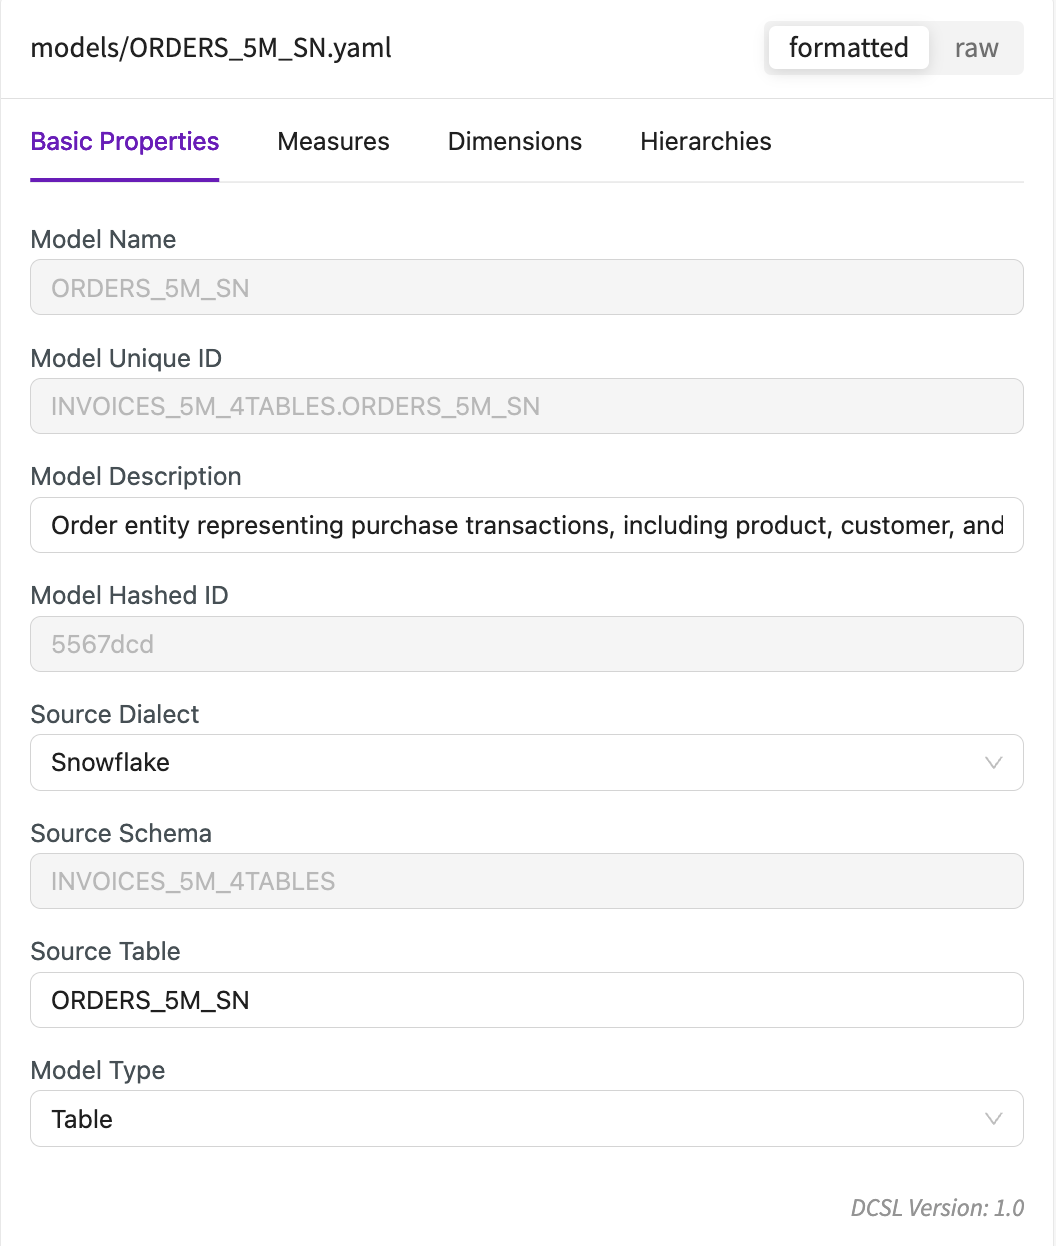
Basic Properties
Each model contains the following properties:
- Model Name
- Unique ID/Hashed ID
- Description
- Source Dialect, Schema, and Table
- Model Type
You can edit the description, source, and type.
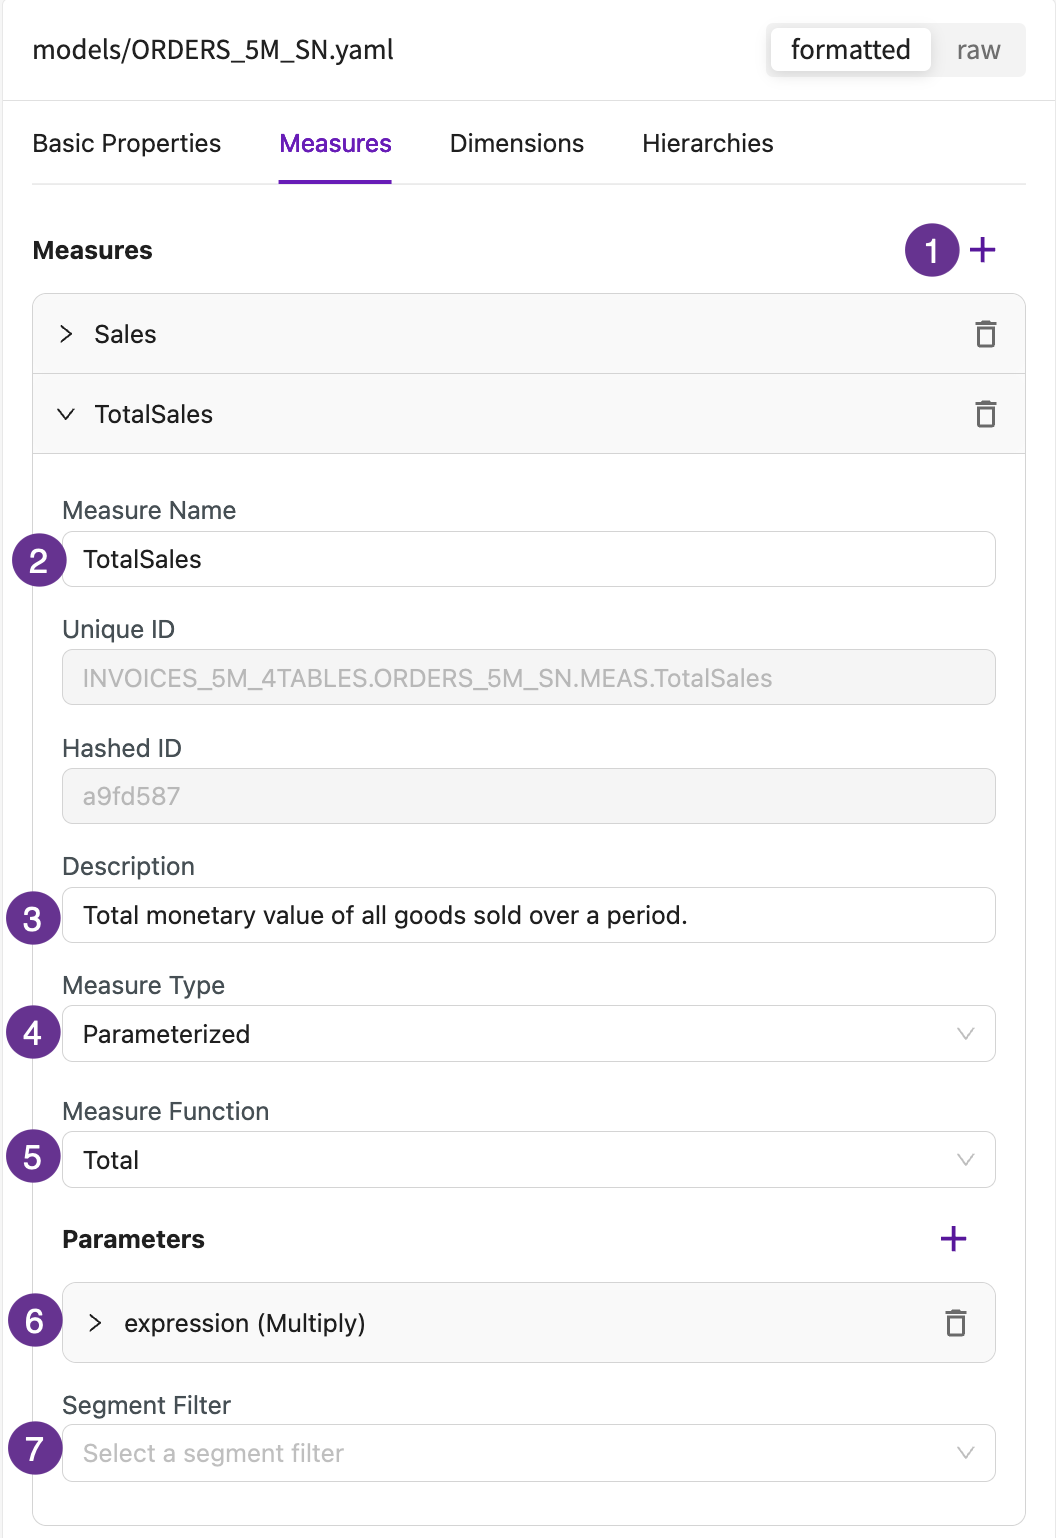
Measures
Measures define business calculations. To add a measure:
- Click +.
- Enter a name.
- Enter a description.
- Select whether the measure is Parameterized or SQL.
- Select the measure function.
- Enter the parameter or SQL function.
- Optionally, add a segment filter.
Dimensions
Dimensions describe attributes such as categories or time. To add a dimension:
- Click +.
- Enter a name.
- Enter a description.
- Optionally, add synonyms to use as additional references for the dimension.
- Select the data type and dimension type.
- Enter the column name.
- Select whether this column should be used as the primary key.

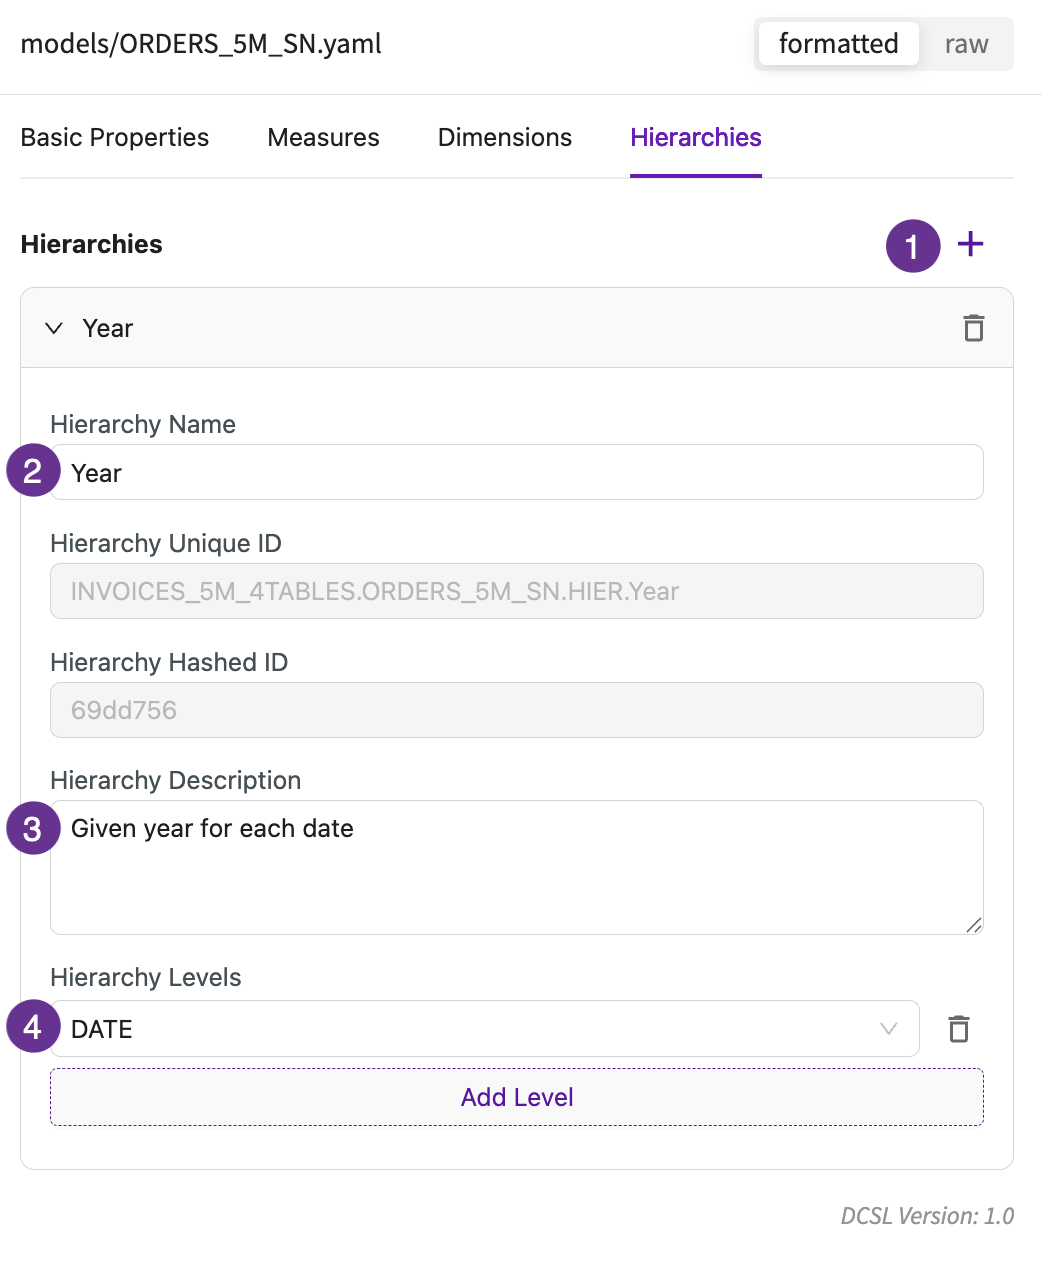
Hierarchies
Hierarchies define levels of organization (e.g., Year → Quarter → Month). To add a hierarchy:
- Click +.
- Enter a name.
- Enter a description.
- Add the hierarchy levels by selecting dimensions for each level.
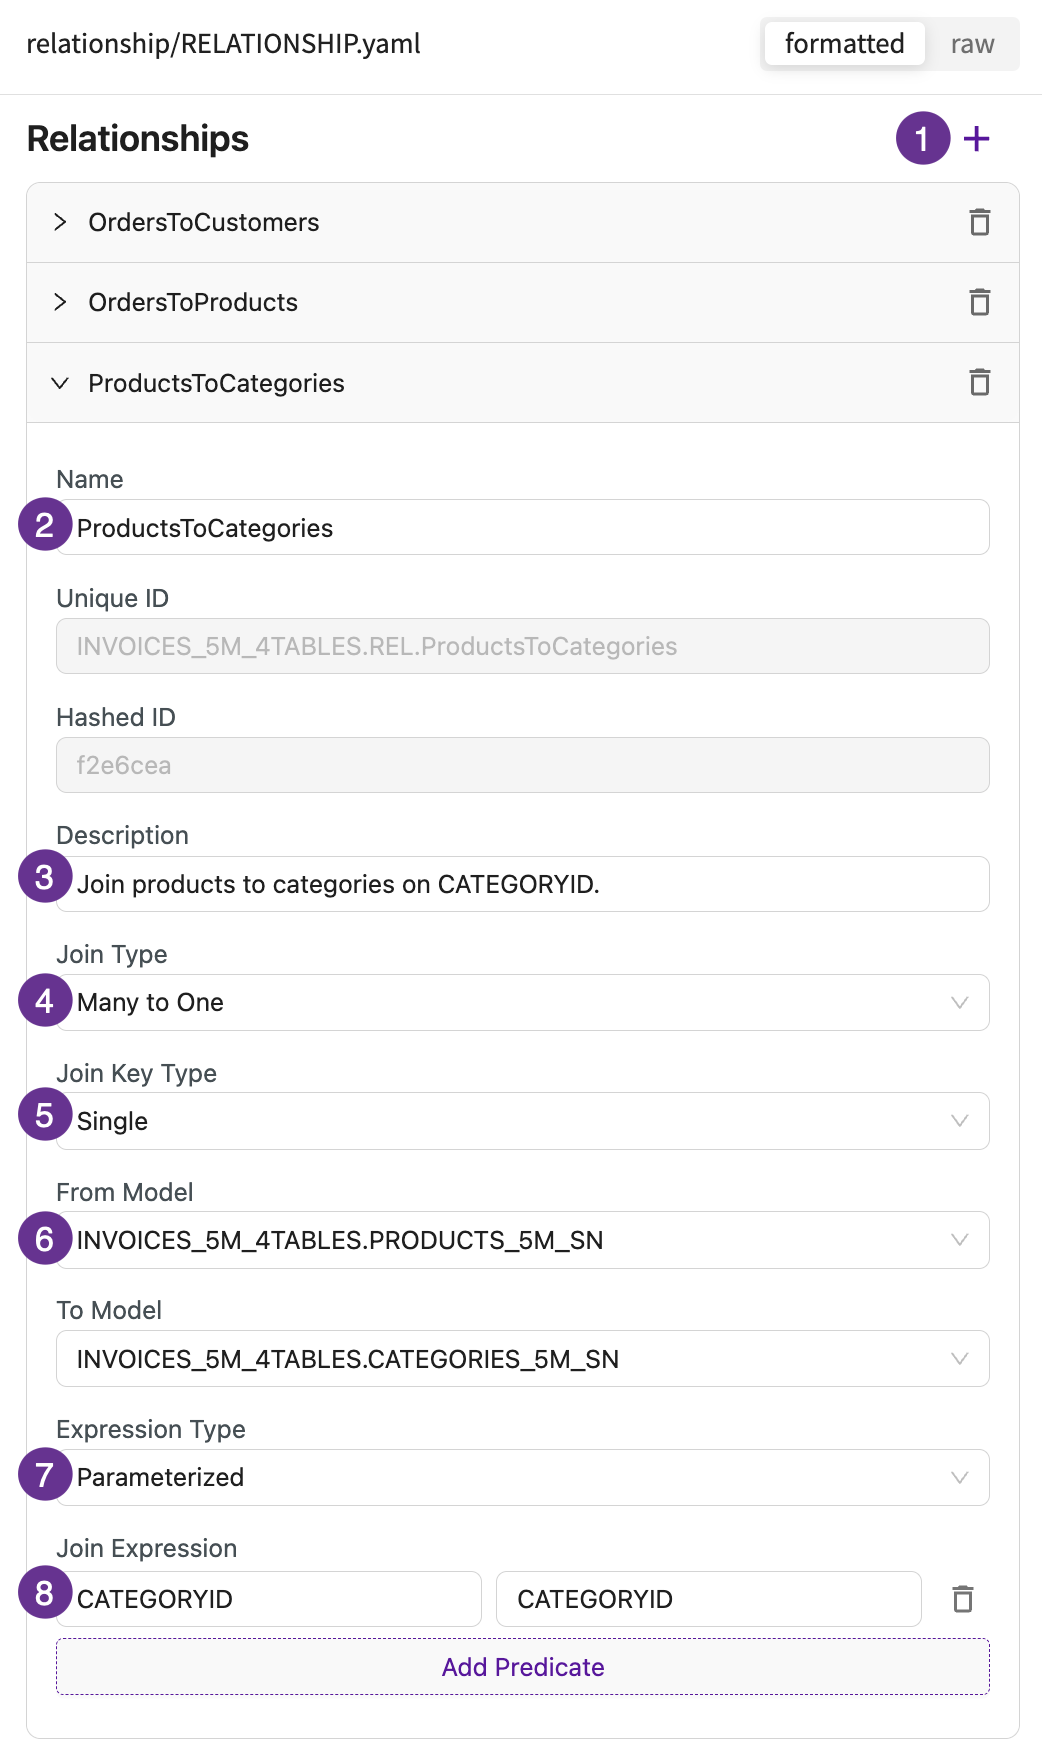
Relationships
Relationships define how models connect. To add a relationship:
- Click +.
- Enter a name.
- Enter a description.
- Select whether the join type is One to One, One to Many, or Many to One.
- Select whether the join key type is Single or Composite.
- Select the models to apply the joins to and from.
- Select whether the expression type is Parameterized or SQL.
- Enter the join expression with optional predicates.
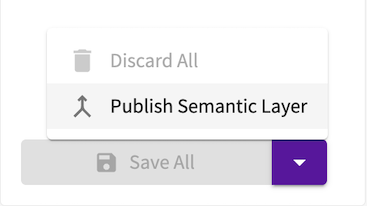
Save and Publish the Semantic Layer
Individual relationships or models can be saved using Save Changes or discarded with Discard Changes next to the modified model or relationships. To apply all updates across the semantic layer at once, click Save All. This allows the Data Assistant to reference your custom logic during analysis.

Publishing the DataChat Semantic Layer makes it available across sessions, so you can reuse your defined models, relationships, and KPIs in future sessions.
Use the Semantic Layer
After saving or publishing, you can immediately start asking natural language questions in the Data Assistant, using your defined models, relationships, and KPIs to generate insights.
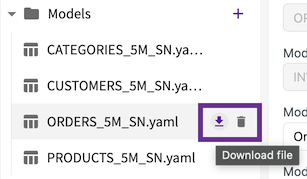
All files in the semantic layer, including uploaded business context files and files created by the Semantic Layer Agent, can be downloaded or deleted at any time.